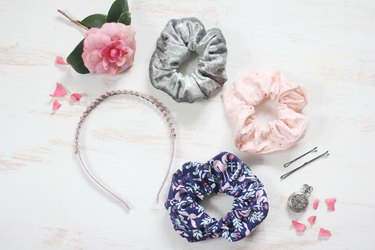
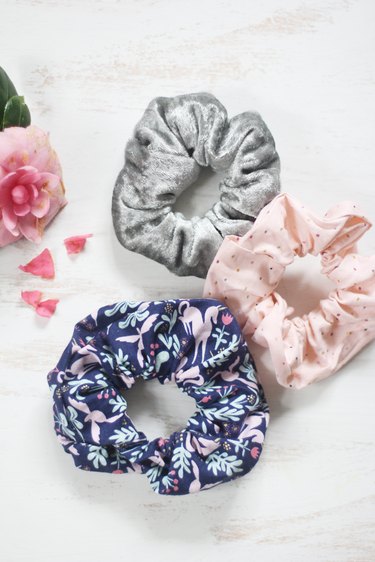
Scrunchies have been a popular go-to hair accessory to years. If you have long hair, chances are you have a few of them on rotation — and you can never have too many scrunchies! Here's how to make your own no-sew version in less than 10 minutes and customize it with your favorite fabric patterns and colors. These would also be cute holiday gifts or party favors for friends.
Video: DIY Hair Scrunchie Tutorial
Video of the Day
Things You'll Need
Fabric, 1/4 yard
Elastic, 1/4 in. width
Scissors
Measuring tape or ruler
Hot glue gun with fabric glue sticks
Safety pin
Tip
A variety of patterns and fabrics can be found at any craft store. Thicker fabrics with heavier weights such as velvet or tweed will yield a scrunchie with better structure, but you can definitely experiment with different fabrics. These instructions are for a no-sew scrunchie; however, you could certainly sew the seams instead of hot gluing them.
1. Cut the fabric
Cut a strip of fabric that is 4 inches wide x 20 inches long.

2. Fold fabric at one end
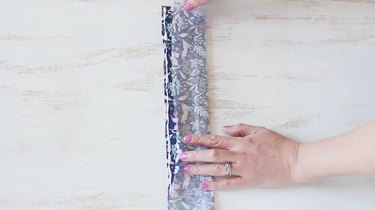
With the right side facing up, fold over 1/2 inch of fabric on one end and hot glue it in place.
This will create a "finished edge" on one end of the scrunchie — it'll come in handy later.
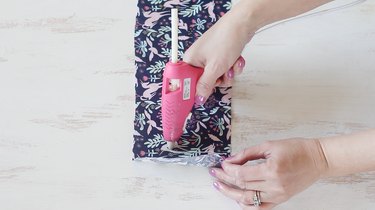
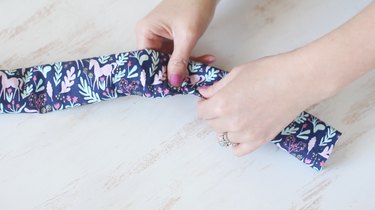
3. Fold lengthwise and glue
Fold the fabric strip in half lengthwise with the right sides facing together, and glue the open seam closed with fabric hot glue.
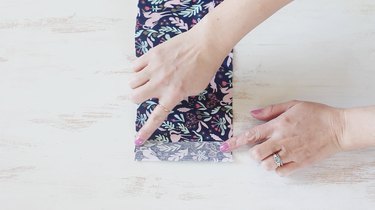
4. Turn the fabric ride side out
Wait a few minutes for the glue to dry, and then turn the fabric tube right side out.
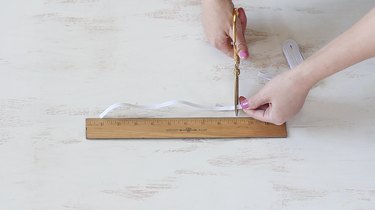
5. Cut the elastic
Cut a strip of elastic that is 9 inches long.
6. Insert the elastic
Attach a safety pin to one end of the elastic and insert it into the fabric tube.
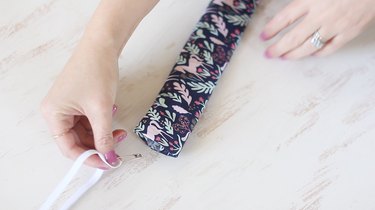
While holding one end of the elastic, use the safety pin to work the other end of the elastic through the tube.
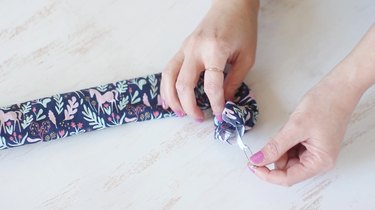
7. Tie the elastic together
Once you work the elastic all the way through the tube, hold the elastic on both ends and remove the safety pin. Then tie the ends of the elastic together in a tight double knot.
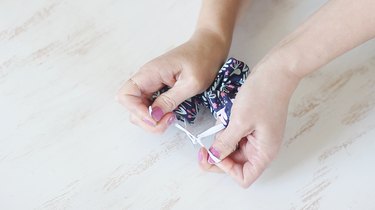
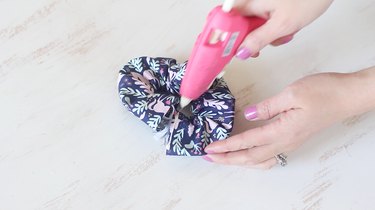
8. Create a finished seam
Fluff and scrunch the fabric around the elastic and then hot glue the raw edge of the fabric inside the finished edge to create a finished seam.
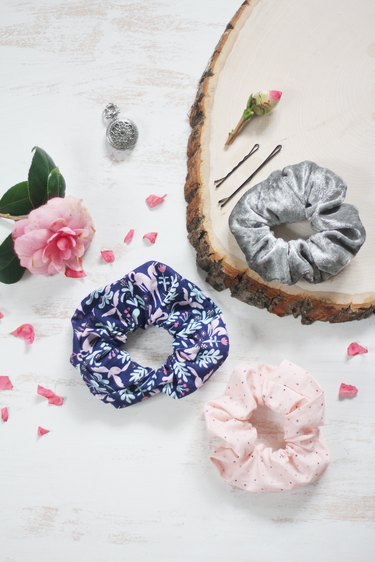
Experiment and have fun choosing fabric in different colors and textures!
Tip
For kids, make them in their school colors, and for the holidays make them in patterns of hearts for Valentine's Day, snowflakes for the winter season, or cute ghosts for Halloween. This is a perfect DIY to flex your creativity!