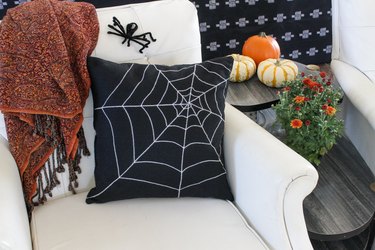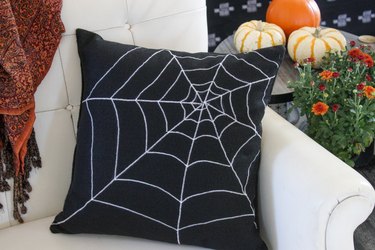
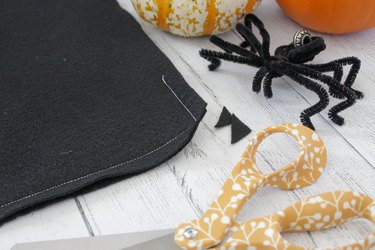
Making new throw pillows is one of the easiest and cheapest ways to switch up your décor to fit the spooky season. A spider web screams "Halloween" and works with both child-friendly and full-on scary versions of the theme.
If you have a sewing machine and basic sewing supplies, you only need a small amount of black felt fabric and a pillow form, either a new one or an old pillow that needs a new cover. It's easy to sketch and sew the design, and the whole project can be completed in just an hour or two, so your couch or front porch will be "spiderific" in no time!
Video of the Day
Things You'll Need
Two 17 1/2-in. square pieces of black felt
White chalk
White all-purpose thread
Black all-purpose thread (optional)
Sharp scissors
16 1/2-in. pillow form
Pins
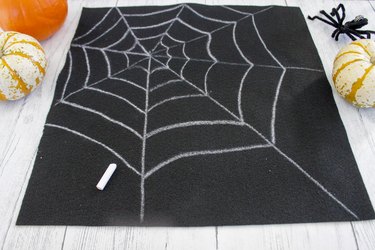
1. Draw the spider web
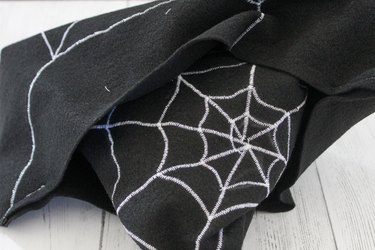
Draw an off-center spider web on one of the felt squares using chalk. Start by marking a dot as the center of the web somewhere between the center and one corner of the felt square. Draw eight straight lines radiating from the center point toward the corners and midpoints of the sides of the square.
Tip
The lines don’t need to be perfect, so you can draw them freehand or use a ruler if you prefer.
Draw the connecting threads of the web with chalk. Starting about an inch out from the center point along one of the "spokes," connect the spokes in a spiral shape made up of lines that curve slightly toward the center point of the web. Keep the spiraling arced lines an inch or two apart and stop drawing when the line meets a side edge of the square.
2. Prepare to sew
Thread your sewing machine with white all-purpose thread in both the upper and lower bobbins. Set the machine to sew a medium-width zigzag stitch with the shortest available stitch length. On a scrap of felt fabric, sew a few rows of stitching to see if you're happy with the effect. It should appear as an almost solid, thick white line. Adjust the width and length and tension as needed.

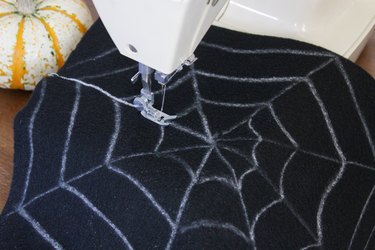
3. Stitch along the lines
Starting at the outer edge of the felt square, stitch along the chalk lines to embroider the spider's web. Start with the straight spoke lines. Work slowly and carefully and sew a few backstitches at the beginning and end of every sewn line to secure the stitches.
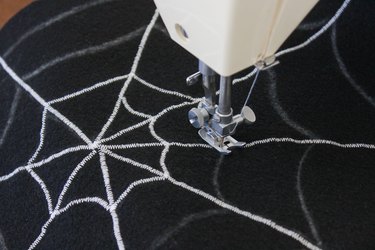
Next, sew the spiral part of the spider web, starting in the center and working your way outward. Again, work slowly and carefully to follow the curved chalk lines, pivoting the felt square as you sew.
Tip
For neater sewing, lift the presser foot at points where the direction of the stitches changes — i.e., where the spiral arcs meet the spokes. To do this, stop sewing, turn the wheel to position the needle down, lift the presser foot, pivot the fabric, bring the presser foot back down, and continue sewing.
Trim the thread ends after you have finished embroidering the spider web. Brush the chalk lines away with a slightly damp cloth.
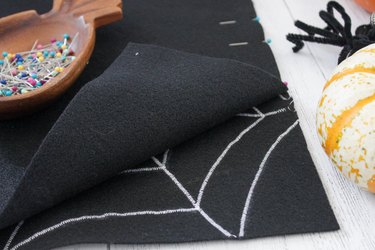
4. Assemble the cushion cover
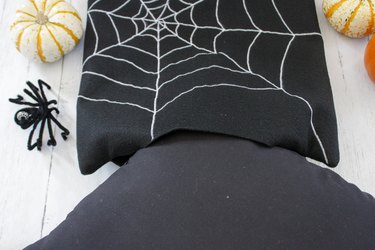
Place the embroidered felt square on the table with the spider web side facing up. Place the second felt square right-side down on top of the embroidered square so that the four side edges are aligned. Place pins through both layers along all four sides.
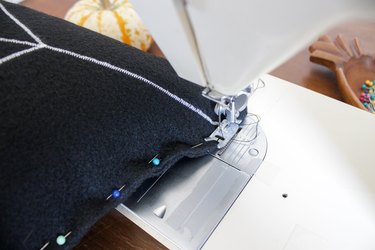
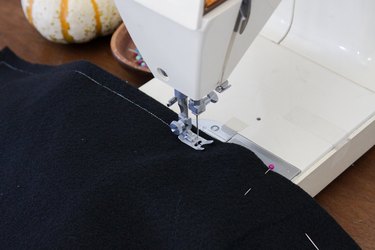
Optionally, replace the white thread in the sewing machine with black thread in both the upper and lower bobbins. Change the stitch setting to a medium-length straight stitch. Sew around the edges of the felt squares, leaving a 3/4-inch seam allowance, backstitching at the start and end of the sewing line and leaving a 4- to 5-inch gap in the seam along one of the sides. This is the gap through which you will insert the pillow form.
With fabric scissors, trim the four corners of the felt squares diagonally. Be careful not to cut through the stitching. This step reduces bulk inside the pillow and creates neat, crisp corners.
Turn the pillowcase right sides out through the gap you left in the seam.
5. Stuff and close the pillow
Stuff the pillow form inside the pillowcase through the gap you left in the seam. Tug the case into place around the form.
With your fingers, fold the edges of the fabric along the gap to the inside and press and pin the folded layers together to neatly close the gap in the seam.
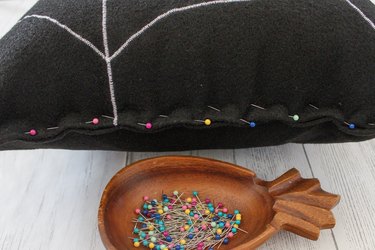
Topstitch along the pinned section of the pillow to close the gap in the seam. You can alternatively whipstitch the gap closed by hand using a needle and black thread. Trim the thread ends.