
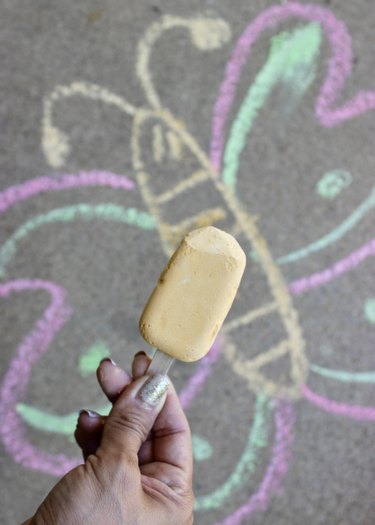
This summer, break away from the ordinary! Instead of making regular sidewalk chalk with the kids, use molds to make chalk shaped like popsicles. Your kids will love them, and they'll inspire creativity. These popsicle-looking chalk sticks are also really easy to make. You will be amazed at the quality of the chalk's color and how soft it feels.
Video: Make Your Own Popsicle Chalk
Video of the Day
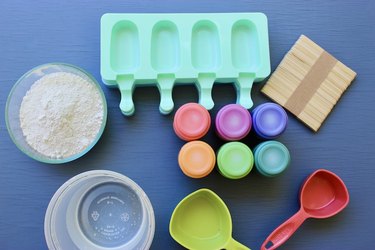
Things You'll Need
Plaster of Paris
Tempera paint
Popsicle molds
Petroleum jelly (optional)
Popsicle sticks
Mixing bowls
Measuring cups and spoons
Stirring sticks
Water
1. Mix the plaster
For best results, follow the instructions that came with your plaster container. Usually, you'll need 2 parts Plaster of Paris with 1 part water.
To create one popsicle chalk of approximately 2 1/2 by 1 1/4 inches, we used 1/2 cup Plaster of Paris and 1/4 cup water.
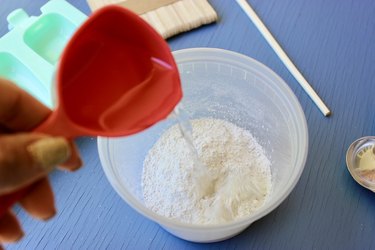
Add the Plaster of Paris to a plastic or glass container. Add water and stir quickly to ensure the mixture is smooth with no lumps.
If your popsicle molds are not nonstick, apply a small amount of petroleum jelly to guarantee that you can remove the chalk popsicles later without any issues.
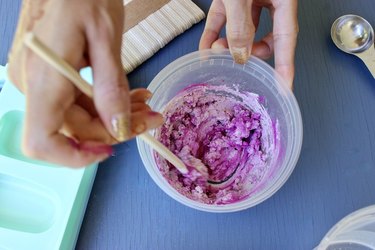
2. Add color
Add about 1/4 cup of liquid tempera paint to the mixture until you reach your desired color. Mix thoroughly. If you want to create different colors, you need to use separate bowls.
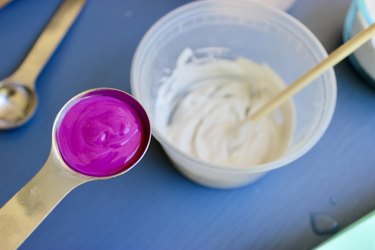
If the mixture gets too dry, it'll be harder to mix. It is best to add the tempera paint just seconds after adding the water to the Plaster of Paris.
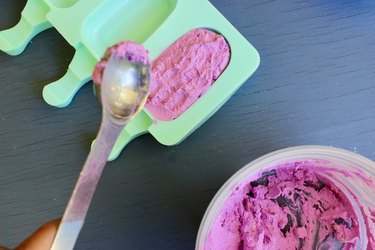
3. Pour the mix into molds
Pour the colorful plaster mixture into the popsicle molds.
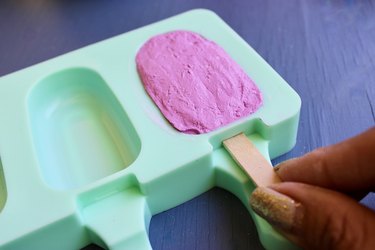
Tap the mold a bit to remove air bubbles or any other imperfections. You can also use your fingers or a wooden stick to flatten the mixture inside the mold.
Add a popsicle stick, making sure it is centered.
4. Dry and remove
Allow the plaster to dry completely. Drying times can vary depending on the size of your mold and the humidity level.
Once the plaster is dry, the chalk popsicles should feel hard and firm. It will usually take around 24 hours until you can remove the Popsicle chalk from your molds. Remove them gently.
Tip
For best results, allow the chalks to dry for two or three extra days. The additional time will ensure they are fully hardened and ready for use.
After your chalk popsicles are ready, store them in a dry place to prevent them from crumbling.
