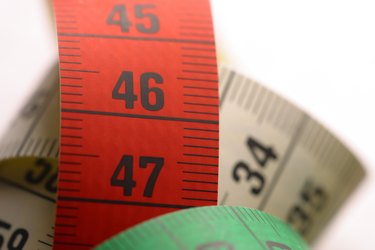
Things You'll Need
Measuring tape
Stitch ripper
Pins
Elastic
Scissors
Thread
Sewing needles
Sewing machine (optional)
Pants and skirts with elastic waistbands are worn by many people around the world. However, sometimes you'll find a skirt or a pair of pants that fit perfectly in nearly every respect. They flatter your figure and they have the perfect drape. But for some reason, the elastic itself is just too tight to be comfortable. In this case, it is possible to expand the elastic in a waistband in either pants or a skirt if you have the right tools. The same instructions can be applied to any garment with an elastic waist, including skirts.
Instructions
Step 1
Determine exactly how much elastic you'll need to add to the waistband. Measure your waist and compare that to the measurement of the existing waistband when it is fully extended. The difference is how much extra elastic you must add. Record or remember this number.
Video of the Day
Step 2
Examine the waistband and look for an inconspicuous place to open it. For most waistbands, this will be where the seams in the back come together. Use the stitch ripper to open up a small hole in the waistband at a seam that will not be visible when the pants are worn. This hole should only be large enough to pull a section of elastic out.
Step 3
Pull out the elastic slightly and snip it with the scissors. Don't let the ends of the elastic pull back into the waistband or you may never get them out again. If you're worried about the ends disappearing, use a pin to hold them together. Set aside.
Step 4
Cut a piece of elastic. To determine how long it should be, add 2 inches to the number you recorded in Step 1. If you like your pants a little looser, cut a longer piece. The elastic you use should be the same width as the elastic in the pants. If you can't find one of the correct size at your local craft supply store, you can use an elastic that is slightly smaller.
Step 5
Retrieve the article of clothing and remove the pin securing the elastic. Using additional pins, affix the piece of elastic you cut to the ends of the elastic waistband with an overlap of approximately 1/2 inch on each side. Ensure that the elastic is not twisted.
Step 6
Permanently secure the piece of elastic to the elastic waistband using your needle and thread. Use any type of stitch you want as long as the stitches themselves are small and tight. If you're using a sewing machine, the zig-zag stitch is the best choice. When finished, push the elastic back into the waistband.
Step 7
Try the pants on to ensure a proper fit. If they are still too small, take them off and pull the elastic waistband back out, remove the stitches holding the elastic piece in place and add a longer piece of elastic.
Step 8
Remove the pants and use your needle and thread to sew up the small hole you made if the pants fit correctly. Use a coordinating thread and keep your stitches small so that your alterations won't be noticed. If you're using a machine, a straight stitch is most appropriate. Otherwise, use whatever stitch you are most comfortable with. Ensure that you can't catch the elastic in the stitching or you'll end up ripping either the pants or the elastic.
Step 9
Try the pants on again to ensure a proper fit. If they are still a little tight, repeat the process from the beginning. If they fit well, you've completed your alteration.
Tip
You might want to take the pants or skirt with you when purchasing the elastic to ensure that you get the right size.
Video of the Day