There's nothing quite like the taste of rich homemade ice cream. Luckily, you don't need an ice cream maker to make your own. This no-churn coffee ice cream turns out sweet and creamy, with plenty of coffee flavor. The best part? It requires only 5 ingredients and no more than 10 minutes of prep time! Using a variety of milks, sweeteners, and fresh ingredients, you can make this ice cream to please your own personal taste and to fit your dietary restrictions, such as dairy-free, sugar-free, or low-fat. Scroll to the end of this article for our suggested substitutions.
Things You'll Need
2 cups heavy whipping cream
1 (14-oz.) can sweetened condensed milk
1/2 cup strong brewed coffee, cooled (or 2 tablespoons dry instant coffee)
2 Tbsp. coffee grinds (optional)
1/4 tsp. sea salt
Metal loaf pan or other freezer-safe container
Video of the Day
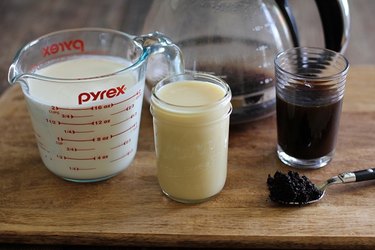
1. Prepare your ingredients
Measure out all your ingredients. You will need 1/2 cup of strong-brewed coffee, which can be saved from your morning pot of coffee. If you do not have brewed coffee on hand, you can use 2 tablespoons of dry instant coffee.
Video of the Day
Tip
Coffee grinds are coffee grounds that have been brewed. You may omit these from the recipe altogether if you don't have a brewed pot of coffee on hand.
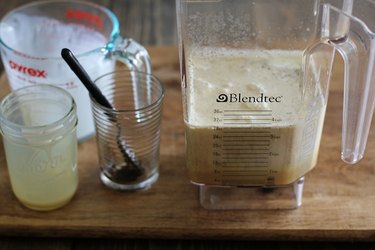
2. Blend the ingredients together
Pour all of the ingredients for the coffee ice cream into a blender. Blend the ice cream base until well-combined.

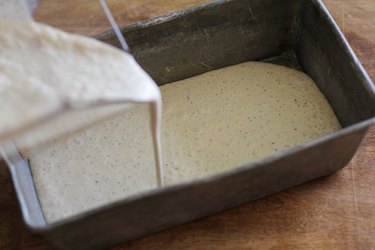
3. Pour the mixture into a freezer-safe container
Transfer the ice cream base to a freezer-safe container, such as a loaf pan. If you'd like, you can line the pan with parchment paper.
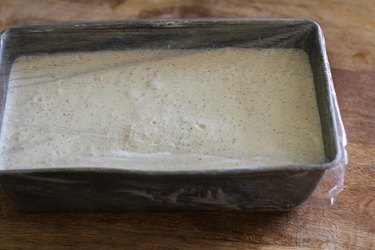
4. Cover and freeze
Cover the container with a lid or plastic wrap. Place in the freezer and freeze for 5–6 hours, or until the ice cream is solid.
5. Thaw and serve
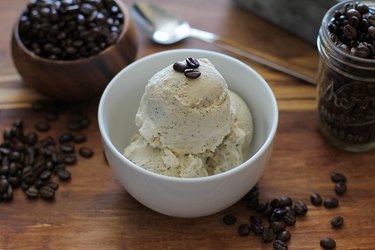
Your ice cream is ready to eat!

Substitutions
Depending on your dietary needs, you may choose to make some substitutions with the ingredients.
To make the ice cream lower fat
Substitute a portion of the heavy whipping cream with half and half. Note: The ice cream will not turn out as rich and creamy.
To make the ice cream sugar-free
Replace the sweetened condensed milk with another 1 1/2 cups heavy whipping cream (or 1 14-ounce can of coconut cream) and add 1/2 cup of a natural liquid sweetener, such as agave or pure maple syrup.
To make the ice cream dairy-free
Replace the heavy whipping cream with full-fat canned coconut milk and the condensed milk with canned coconut cream. Note: The ice cream will turn out much harder with this method, so using an ice cream maker rather than a blender is recommended. You also can replace the dairy with 2 cups of soaked cashews and 1 cup of full-fat coconut milk: Blend these ingredients well to a completely creamy consistency.