Things You'll Need
Model Magic Clay
Air tight container
School glue or white craft glue
Shaping tools such as craft sticks (Popsicle sticks), scissors, paper towel rolls, forks or combs, cookie cutters, etc.
Markers
Model Magic is a molding compound made by Crayola. Unlike other modeling clays, Model Magic clay will air dry in 24 hours. This allows you to shape forms which will harden. Unlike air dry clay, which becomes heavy and rigid after it has dried, Model Magic remains slightly spongy and lightweight. It is available in white or in a variety of colors with other kids craft materials since it is non-toxic and easy for children to use. Below are ideas to get you started working with Model Magic.
The Steps
Step 1
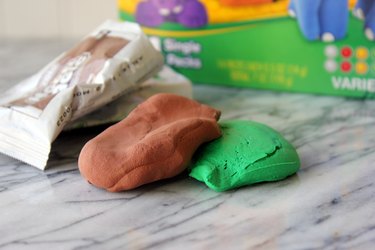
Remove only the amount of clay you will work with from the box. Reseal the leftover clay in an air-tight container. Over time, no matter what you do, your Model Magic will harden, even in an air-tight container, but it will take longer than if left out. (See reference 3)
Video of the Day
Step 2
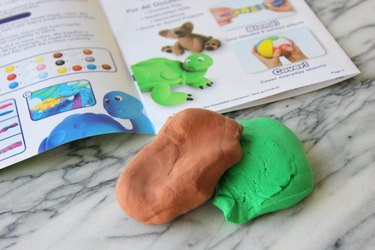
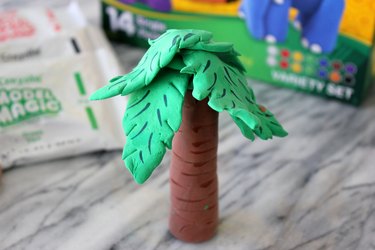
Decide on the craft you want to make with your Model Magic. Use your imagination or see resource 1 for inspiration.
Step 3
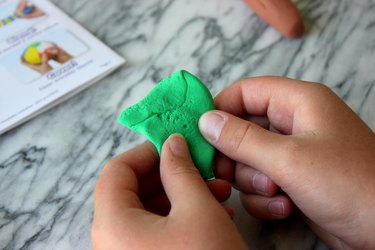
Begin by shaping the Model Magic with your hands into any desired shape. There are a variety of modeling techniques you can use, and these are similar to those used for working with any modeling compound, such as pinching the clay to flatten a portion, and rolling it into a snake shape. See resource 3.
Step 4
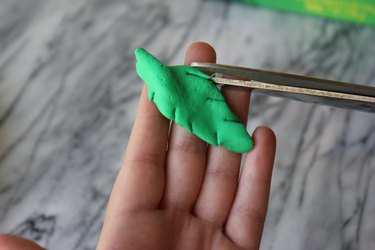
Use the shaping tools to make patterns, indents and to cut out shapes. Try to flatten out the Model Magic with your hands, then use cookie cutters to cut out shapes. Make fringe by snipping the edges of flattened clay with scissors. Press a fork or a comb into the surface of the Model Magic to make parallel lines or cross-hatch marks. Large tubes can be made by pressing your Model Magic around a cardboard paper towel roll. See resource 4.
Step 5
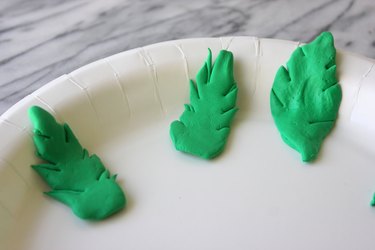
Place your finished Model Magic project in a spot where it will be undisturbed for at least 24 hours to dry and harden.
Step 6
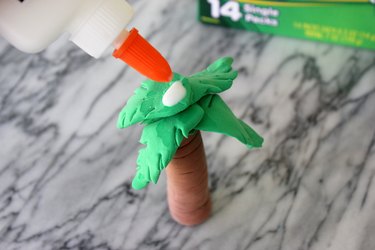
Attach pieces of Model Magic together with white glue. This is best done after the pieces have dried since the pliable Model Magic will stick to itself and you will likely not need to use glue.
Step 7
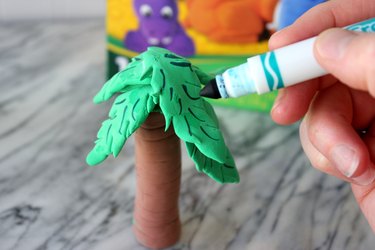
Color the dried Model Magic with markers, if desired.
Warning
Model Magic is not waterproof, and exposing the hardened product will damage the compound beyond repair.
Video of the Day